Get started with Spellwarden
Last updated 7 November 2026
This guide is for people who are evaluating Spellwarden and for whoever sets it up for a team. By the end you will have looked around the live demo, created an account and an organisation, scanned a skill and an MCP server, read what Spellwarden found and invited a colleague.
Plans: Free
Try the live demo first
The live demo is a real organisation with real data, set up so that anyone can look at everything. It needs no sign-up, it is read-only, and it is reset every night, so you cannot change it, and every night it starts fresh.
The link below opens the demo's sign-in page, which shows the demo account's email address and password. Choose Sign in to the demo and you arrive in the organisation as a Viewer, a role that sees what a Member sees and changes nothing. A banner on every page says you are in the demo, and its Create your own organisation button takes you to sign-up when you want to try Spellwarden on your own skills.
Open the Overview in the live demo
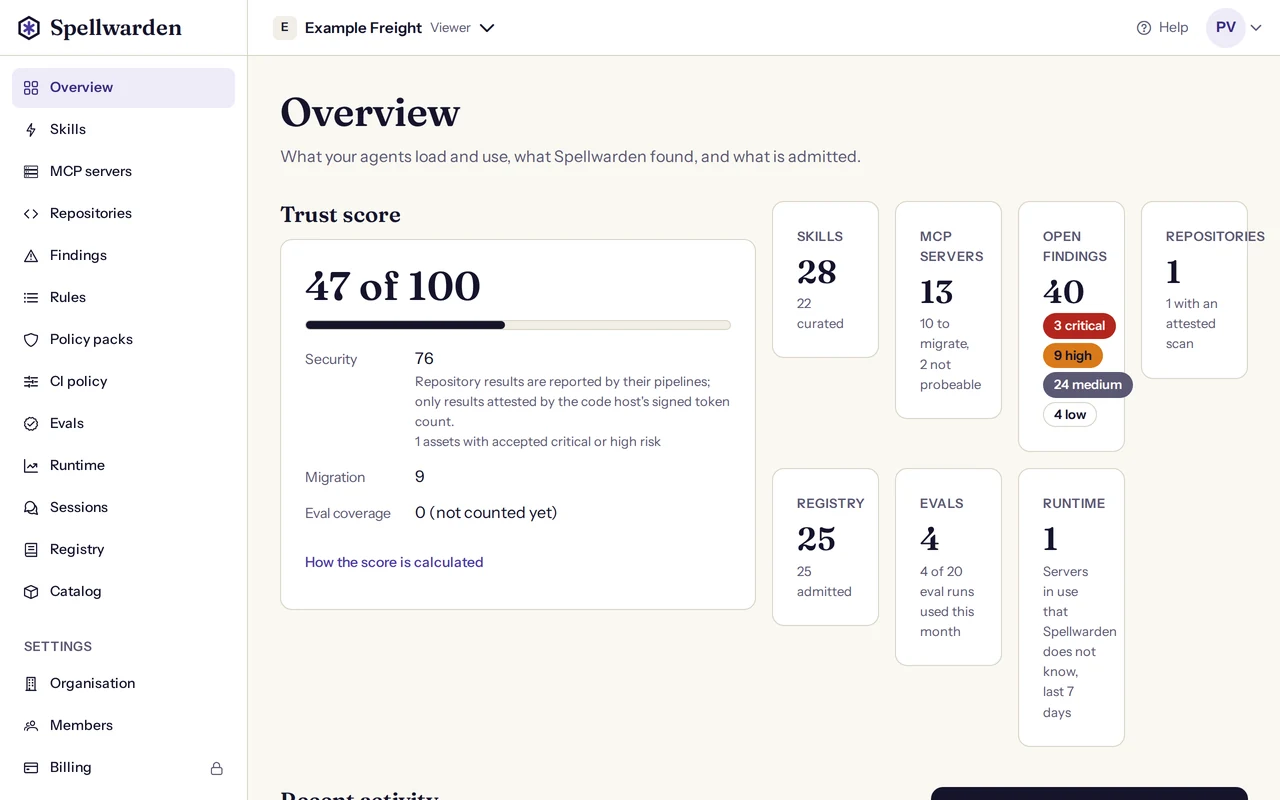
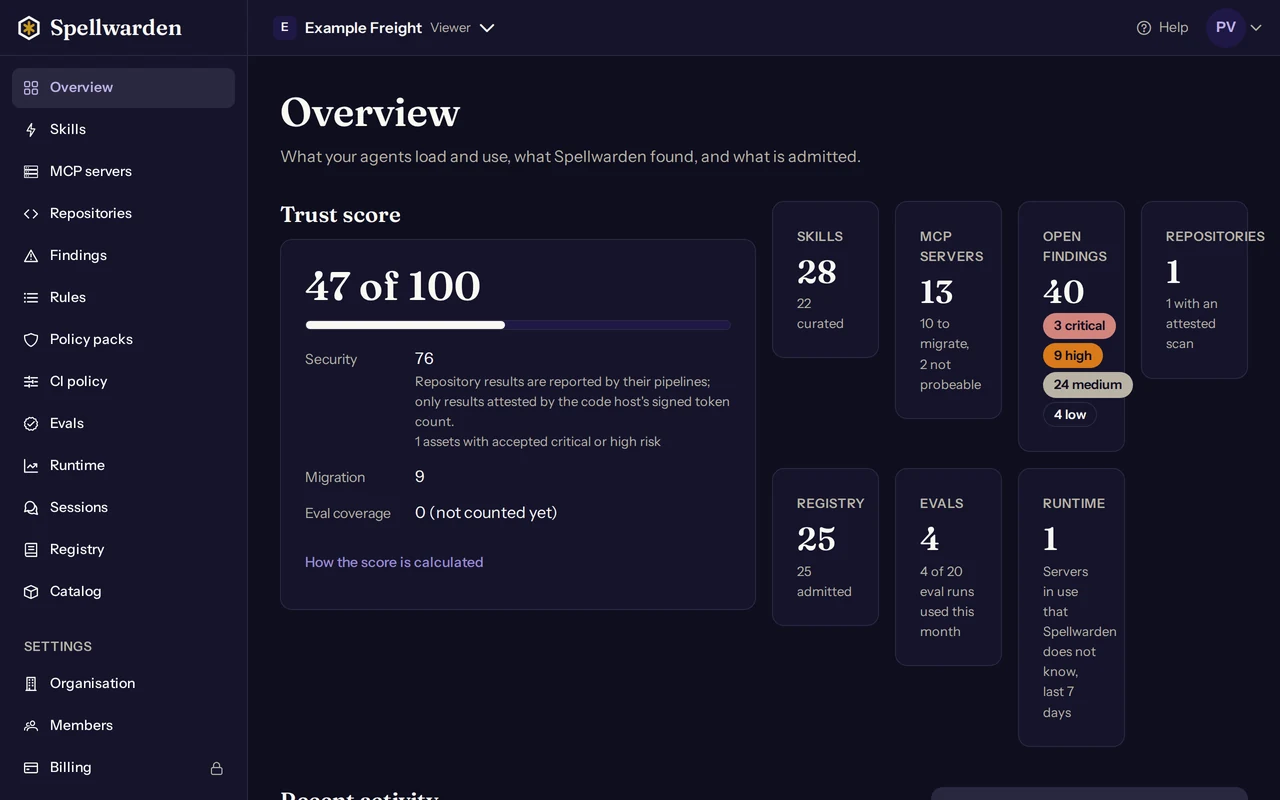
Three pages are worth a few minutes: the Overview, the Skills page and the Findings page. The sections below link to the last two. Because the demo is read-only, the buttons that change something, such as Scan a skill and Add an MCP server, are not offered there. You will meet them in your own organisation.
Create your account
Open dash.spellwarden.ai/signup. You can sign up with an email address and a password, or with Google. Both lead to the same kind of account.
Email and password
- Enter your name, your work email address and a password of at least 12 characters. No other kind of character is required.
- Read the terms and conditions and the privacy policy. Creating the account means you agree to both.
- Choose Create account. Spellwarden sends a confirmation code to your email address.
- Enter the code on the Check your email page and choose Confirm email, then sign in.
Choose Continue with Google instead. Spellwarden accepts the sign-in only when Google has verified the email address of the Google account. If you signed up with a password first and later choose Continue with Google with the same address, you open the same account, not a second one.
If something goes wrong
- No code arrives: choose Send a new code. If nothing arrives after a few minutes, choose Start again.
- The page says an account with this email already exists: sign in instead, or use Reset your password.
- The page says there were too many attempts: wait a few minutes and try again.
Two-factor sign-in with an authenticator app is optional for your own account, and you can turn it on later. Sign-in, two-factor and single sign-on explains it.
Create an organisation and start the trial
Everything in Spellwarden belongs to an organisation: its skills, servers, repositories, findings, policy, members and billing. The first time you sign in without belonging to one, Spellwarden opens the Create an organisation page. A person who was invited to an existing organisation joins it from the invitation link and can skip this step.
- Enter an organisation name of up to 64 characters. Members see it, and it appears on invitations.
- Choose a URL name of 3 to 50 lower-case letters, digits and hyphens, not starting or ending with a hyphen. It becomes the address of your organisation,
dash.spellwarden.ai/followed by the URL name, and you can change it later. A URL name that another organisation uses or used before is refused. - Tick the box to agree to the terms and the privacy policy, then choose Create organisation.
You become the organisation's Owner, and it starts a 14-day trial of the Team plan. No card is needed. A notice in the dashboard counts the days down, and owners and billing members get an email before the trial ends and on the day it ends.
If no billing is added by the end of the trial, the organisation becomes read-only: everyone can still sign in and see everything, but changes, API keys and MCP connections are paused until an owner or a billing member adds billing. Nothing is deleted. Plans and billing has the prices, the seats and what happens at the end of the trial.
Two limits apply while an organisation has no billing. One person can own up to 3 organisations without billing, and a trial organisation can hold up to 20 members and pending invitations together.
Scan your first skill
A skill is a folder that an agent loads, with a SKILL.md file that names and describes it. A skill can carry instructions and scripts, so it is worth checking before an agent runs it. The quickest way to see Spellwarden work is to scan one: either a public repository or a zip file.
- Open Skills in the menu, or choose Scan a skill in the Get started list on a new organisation's Overview.
- Choose Scan a skill and pick the source.
- Enter the address, or choose the zip file, and choose Scan.
| Source | What to give Spellwarden |
|---|---|
| Upload a zip | A zip file of 5 MiB or less that holds the skill. |
| Git repository | The URL of a public GitHub or GitLab repository. You can add a branch, tag or commit, and a path inside the repository. |
| Plugin marketplace | The URL of a marketplace.json file. Spellwarden scans the skills of the plugins it lists. |
| skills.sh listing | The URL of the listing on skills.sh and the URL of the public repository it points to, with the same optional branch, tag, commit and path. |
A repository import starts at once and says so. Skills appear in the list as they are scanned, so a repository with several skills fills the page over a short time. If the page says to use a public GitHub or GitLab URL, the address is not one Spellwarden can read. Spellwarden's hosted scan reads public repositories only. For a private repository, upload a zip, scan in CI (see Scan in CI with GitHub or GitLab) or run the open-source scanner on your own machine (see the open-source guide).
Each scanned skill shows its version and source, a curation score out of 12, whether it is Curated, Not curated or Quarantined, its open findings by severity and the status of its last scan. Open a skill to see its details, its findings and its scan history. Scan skills explains the score.
Add your first MCP server
An MCP server is a service that gives an agent tools. Spellwarden checks each server you add against the 2026-07-28 MCP specification and builds a migration report that lists what still has to change. Check MCP servers and plan their migration reads the report in detail.
- Open MCP servers in the menu and choose Add an MCP server.
- Under What to add, choose Endpoint URL, Repository (stdio server) or Official registry name.
- Enter the value. For an endpoint or a repository a name is optional, and Spellwarden makes one when you leave it empty.
- Choose Add. The server appears in the list while its first scan runs.
- Endpoint URL: the address of a server that runs remotely. Spellwarden connects to it over HTTPS from the internet, sends a few requests and never sends a credential, so the address must start with
https://and resolve to a public address. A server on a private network is reported as not reachable. - Repository (stdio server): the URL of a public GitHub or GitLab repository for a server that runs on the machine that uses it. Spellwarden reads the repository but does not probe it. To check the tool descriptions, open the server and choose Set the tool list, then paste the list.
- Official registry name: the name a server has in the official MCP registry, in the form of a domain, a slash and a name. Spellwarden looks it up in the registry and checks what it finds.
The MCP servers page counts the servers that are Ready, To migrate and Not probeable, and shows the days left to the MCP deadline. A stdio server is always Not probeable. Moving MCP servers to the 2026-07-28 specification has the checklist behind the status.
Read the findings and the trust score
The Findings page lists every finding from skills, MCP servers and repositories in one table. A row shows the severity as a word (critical, high, medium or low), the rule id, a title, the target, the location, the OWASP and NIST references and the status. You can filter by severity, status, target and origin. Start with the highest severity.
A rule id such as SW-SKL-004 names the scanner rule that fired. Scanner rules lists every rule with what it detects and an example that triggers it.
When a finding is real but you accept the risk, choose Accept with note and write the reason, and Reopen undoes an acceptance. A Member can accept a medium or low finding; accepting a critical, high or malicious-indicator finding needs a Manager or an Owner. Mark fixed is for findings a person added by hand: a scan decides when a rule's finding is fixed. Findings of a repository are accepted in the repository's baseline file instead, as the open-source guide describes. Findings and the trust score covers accepting in full.
The trust score is the number out of 100 at the top of the Overview. Its Security part is the share of scanned items that have no open critical or high finding. Its Migration part is the share of MCP servers that are Ready. Eval coverage is shown but not counted yet, and a part with nothing to count is left out. With nothing scanned yet, the card reads Not enough data yet.
Invite your team
Owners and managers can invite people. Open Settings, then Members, and choose Invite members. Enter one email address per line, up to 10, choose a role and choose Send invitations. Each person gets an email with a link that stays valid for 30 days. They open it, sign in or create an account, and choose Accept invitation. If a link expires, choose Resend on the invitation.
| Role | What it can do |
|---|---|
| Owner | Full control, including billing, single sign-on and deleting the organisation. |
| Manager | Manages members, invitations, API keys and settings. No billing. |
| Member | Uses Spellwarden: scans, findings and connected apps. |
| Viewer | Can see everything in the organisation and change nothing. |
| Billing | Manages payment only. Cannot open the modules. |
Owners can give any role. Managers can give Manager, Member and Viewer. An invitation link works for whoever holds it, so send each one only to the person it is for. Owners, managers, members and viewers count as seats in the bill, and billing members do not. Organisations, members and roles describes members, roles and leaving an organisation.
What to set up next
With a skill, a server and a team in place, these are the usual next steps. Each has its own guide.
- Scan in CI: check every pull or merge request with the GitHub Action or the GitLab component, and see each repository's latest scan.
- Rules, policy packs and exports: turn rules on or off, write organisation rules, publish policy packs and export them for Claude Code hooks, Kong and Zuplo.
- Skill evals and session evals: compare an agent's results with and without a skill.
- Runtime traces and sessions: send traces to see which servers, tools and skills your agents use.
- API and keys and the connector for Claude: use Spellwarden from your pipelines, scripts and Claude.
- Sign-in, two-factor and single sign-on: protect accounts and, on Enterprise, sign in through your own identity provider.
The docs index lists every guide.